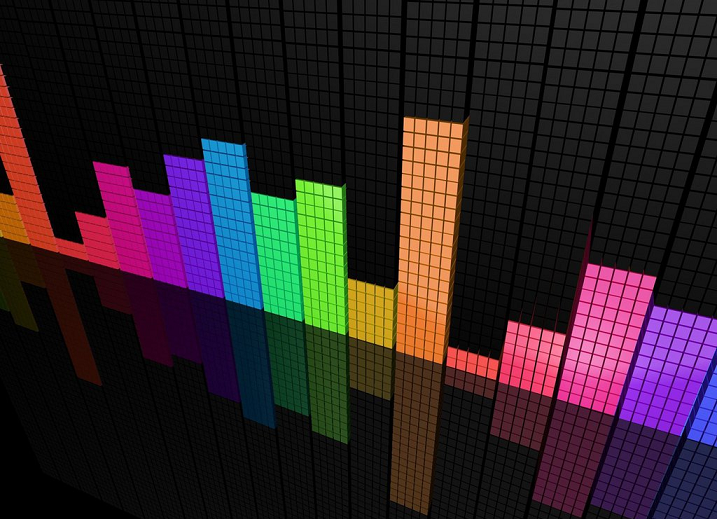
Equalizers can be found on almost every kind of sound system: from your home theater or entertainment center to your car’s audio system and even to the PA system at, say, the local stadium or concert stage. Even your laptop, smart phone, or iPad may have come with its own graphic equalizer for enhancing digital media playback. Indeed, equalizers are an essential tool for establishing – and reinforcing – high-quality sound. Without the “EQ” we’d all be less capable of correcting speaker anomalies and of compensating for various kinds of audio shortcomings.
Now: not everyone has graduated from the School of Sound Engineering, but wouldn’t it be awesome to learn how to at lease use the equalizer? Wouldn’t it be cool to have it in your bag of tricks? We understand that as common a sight as the EQ is, not everyone would automatically know how to “equalize”. So here’s a quick guide to get you started:
The knobs or sliders of the EQ are used for adjusting individual frequencies. This then helps you adjust the tone of a sound, song, or instrument, as well as enhance the way that each frequency range or band blends with the rest. The bands on the left, typically starting around 31Hz, represent the low or bass frequencies; the mid is between 500 to 1KHz, while the high or treble frequencies range from 2 to 16KHz.
To start, set all the EQ bands – the bass, mid, and treble (plus their in-betweens) – to zero. If you’ll notice, all the bands will then have been turned to the halfway point of the equalizer. This should bring out the audio in its “natural form” – without, that is, any tonal adjustments or effects.
Choose your test song. Hopefully, it will be one with both low and high frequencies, so that you have a wide frequency range to listen out for, but at any rate, choose songs that you would actually listen to – not those that are wholly unfamiliar. Remember, you’re adjusting the EQ to accommodate your listening preferences. Listening to the mix as-is, you should be able to determine if there are frequency bands dominating the sound.
Cut the bass… if it’s dominating the sound and causing your speakers to rumble. The so-called “rumble filter” is usually in the range of 20 to 40 Hz, and prevents the wasteful amplification of low frequencies and bass sounds that aren’t effectively reproduced by typical speakers, and which might cause your system to “bottom out”.
Cut the treble… if you’re hearing a lot of sharp hissing from your test song. In the same way, if you hear that the voices or percussions lack a bit of sharpness or crispness, you can adjust the high frequencies and give your system a treble boost.
Cut the midrange frequency… if you think that it’s overpowering the sound of instruments or bass, thus causing the audio to sound flat. The mid is generally the frequency that humans speak in.
Remember that the point of equalizers isn’t to eliminate frequencies. It’s to achieve a greater balance for your listening pleasure. And while the tool can also be used to compensate for certain audio system inadequacies, it’s important to remember that the equalization of the audio in your movies and music will have already been balanced by the pros and sound engineers before putting it out there. So if you’re confident enough in your home audio system, don’t play around too much with your EQ.


